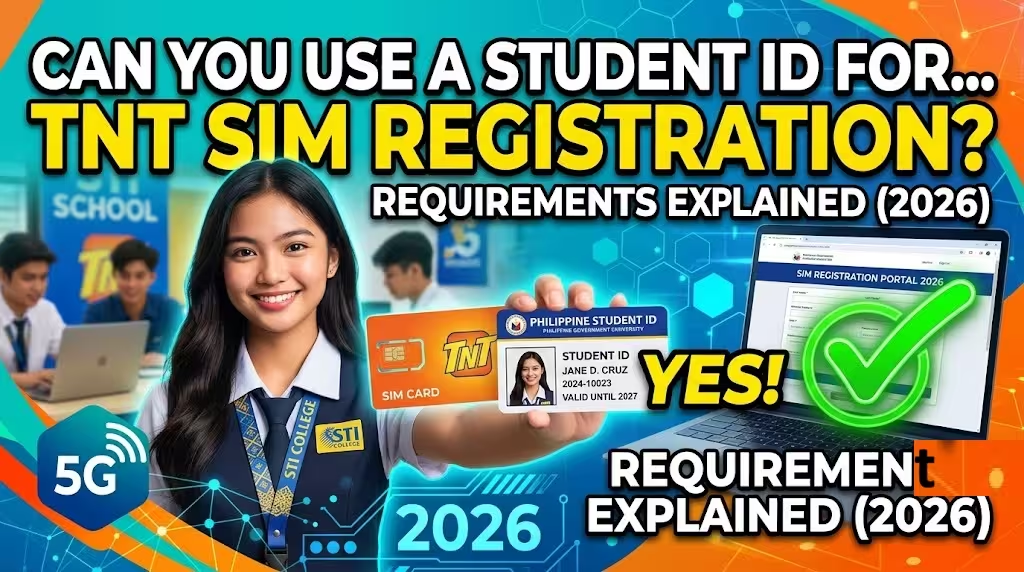
Can You Use a Student ID for TNT SIM Registration? Requirements Explained (2026)
Student ID for TNT SIM Registration
If you’re a student wondering whether you can use your school ID for TNT SIM registration, the short answer is yes.
Smart Communications, which operates TNT (Talk ‘N Text), allows students to register their SIM cards using a valid school ID, provided it meets the registration requirements. This is especially helpful for students who do not yet have other government-issued identification cards.
In this guide, you’ll learn exactly who can use a student ID, the requirements, how the registration process works, common mistakes to avoid, and answers to frequently asked questions.
Related – TNT SIM Registration for OFWs
Quick Answer
Yes. A valid school ID is accepted for TNT SIM registration for students.
To register successfully, you’ll generally need:
- A valid school ID with your photo
- Your personal information
- A live selfie for identity verification
- Your TNT mobile number
- Access to the official Smart SIM Registration Portal
Always register through the official Smart SIM Registration website to protect your personal information.
Why SIM Registration Is Required
SIM registration is required under the Philippines’ SIM Registration Act to help reduce:
- SMS scams
- Identity fraud
- Mobile-related crimes
- Spam messages
Every new and existing TNT SIM user must register their SIM using valid identification before the prescribed deadline set by authorities.
Can Students Really Use a School ID?
Yes.
Students who do not yet possess government-issued IDs can use a valid school ID when completing their TNT SIM registration, provided the ID clearly identifies the student.
A school ID is generally acceptable when it:
- Displays the student’s full name
- Contains a clear photograph
- Shows the name of the educational institution
- Is currently valid
If your school ID is damaged, expired, or missing important details, consider using another accepted ID if available.
TNT SIM Registration Requirements
Before beginning the registration process, prepare the following.
1. Valid Identification
Students may use:
- School ID (with photo)
- National ID
- Passport
- Driver’s License
- Other IDs accepted by Smart
2. Personal Information
You’ll typically provide:
- Full name
- Date of birth
- Sex
- Nationality (if requested)
- Residential address
Ensure every detail matches your identification.
3. Selfie Verification
You’ll be asked to upload or capture:
- A clear live selfie
- A photo while holding your ID (if required during verification)
Good lighting and a clear camera significantly improve verification success.
4. Active TNT SIM
Keep your TNT SIM inserted in your phone so you can receive the One-Time Password (OTP) needed during registration.
How to Register Your TNT SIM Using a Student ID
Follow these simple steps.
Step 1: Visit the Official Registration Portal
Go to the official Smart SIM Registration Portal.
Avoid unofficial websites requesting personal information.
Step 2: Enter Your TNT Mobile Number
Type your TNT number.
An OTP will be sent for verification.
Step 3: Verify the OTP
Enter the verification code before it expires.
Step 4: Fill Out Your Personal Details
Provide accurate information exactly as it appears on your identification.
Step 5: Upload Your School ID
Take a clear photo of your school ID.
Make sure:
- All text is readable.
- The image isn’t blurry.
- Nothing is cropped.
Step 6: Complete Selfie Verification
Take a clear selfie following the on-screen instructions.
Avoid:
- Hats
- Sunglasses
- Heavy filters
- Poor lighting
Step 7: Review and Submit
Double-check every detail before submitting.
After successful registration, you’ll receive a confirmation message or reference number.
More Register Guide: How to Register a TNT SIM for Minors
Tips for Faster Approval
To reduce delays:
- Use a clean, undamaged school ID.
- Enter your name exactly as printed.
- Use a stable internet connection.
- Ensure your selfie matches your ID.
- Upload high-quality images.
Small mistakes often cause verification failures.
Common Registration Mistakes
Many registration issues happen because of simple errors.
Avoid these mistakes:
- Uploading blurry ID photos
- Using an expired school ID
- Incorrect spelling of your name
- Wrong birth date
- Poor-quality selfie
- Entering an incorrect mobile number
Review everything carefully before submission.
What If Your School ID Is Not Accepted?
If your school ID cannot be verified, you may need to register using another accepted identification document.
Common alternatives include:
| Accepted ID | Suitable For |
|---|---|
| National ID | All eligible citizens |
| Passport | Filipino citizens and foreign nationals |
| Driver’s License | Licensed drivers |
| Other Smart-accepted IDs | Depending on eligibility |
Always refer to Smart’s latest list of accepted IDs, as requirements may change.
Is It Safe to Upload Your School ID?
Yes—provided you use the official Smart SIM Registration Portal.
For added security:
- Never share OTP codes.
- Do not register through unofficial websites.
- Avoid clicking SIM registration links from unknown text messages.
- Verify that you’re on the official Smart website before uploading personal information.
Frequently Asked Questions
Helpful Tips Before You Register
Before starting your registration:
- Charge your phone.
- Prepare your school ID.
- Keep your TNT SIM active.
- Ensure you have a stable internet connection.
- Complete the process in one session to avoid interruptions.
Final Thoughts
A valid school ID is an accepted identification document for eligible students registering a TNT SIM, making it easier for those who do not yet have government-issued IDs to comply with SIM registration requirements.
To ensure a smooth experience, prepare a clear school ID, provide accurate personal information, complete the selfie verification carefully, and always register through the official Smart SIM Registration Portal. Taking a few extra minutes to verify your details can help prevent delays or rejected applications.
If you’re still unsure about your eligibility or documentation, consult Smart’s official support resources before submitting your registration.